Installation
The PolyAI ADK can be installed as a Python package.
Install the ADK
We recommend installing in a virtual environment rather than installing to the global system Python. If you don't have uv installed, see the uv installation guide.
Run the following to create a virtual environment:
Suppress SyntaxWarnings from platform-generated code
Platform-generated code uses regex patterns (such as \d) that trigger SyntaxWarning in Python 3.14's stricter string handling. This produces 40+ warning lines on every poly command and obscures normal output.
To suppress them, set this before running any poly command:
Activate the virtual environment:
Install the package with pip:
Optional — install the VS Code / Cursor extension
If you plan to work in VS Code or Cursor, you can also install the PolyAI ADK extension for resource-aware editing on top of the CLI. The extension is additive — the poly command remains the source of truth for every workflow.
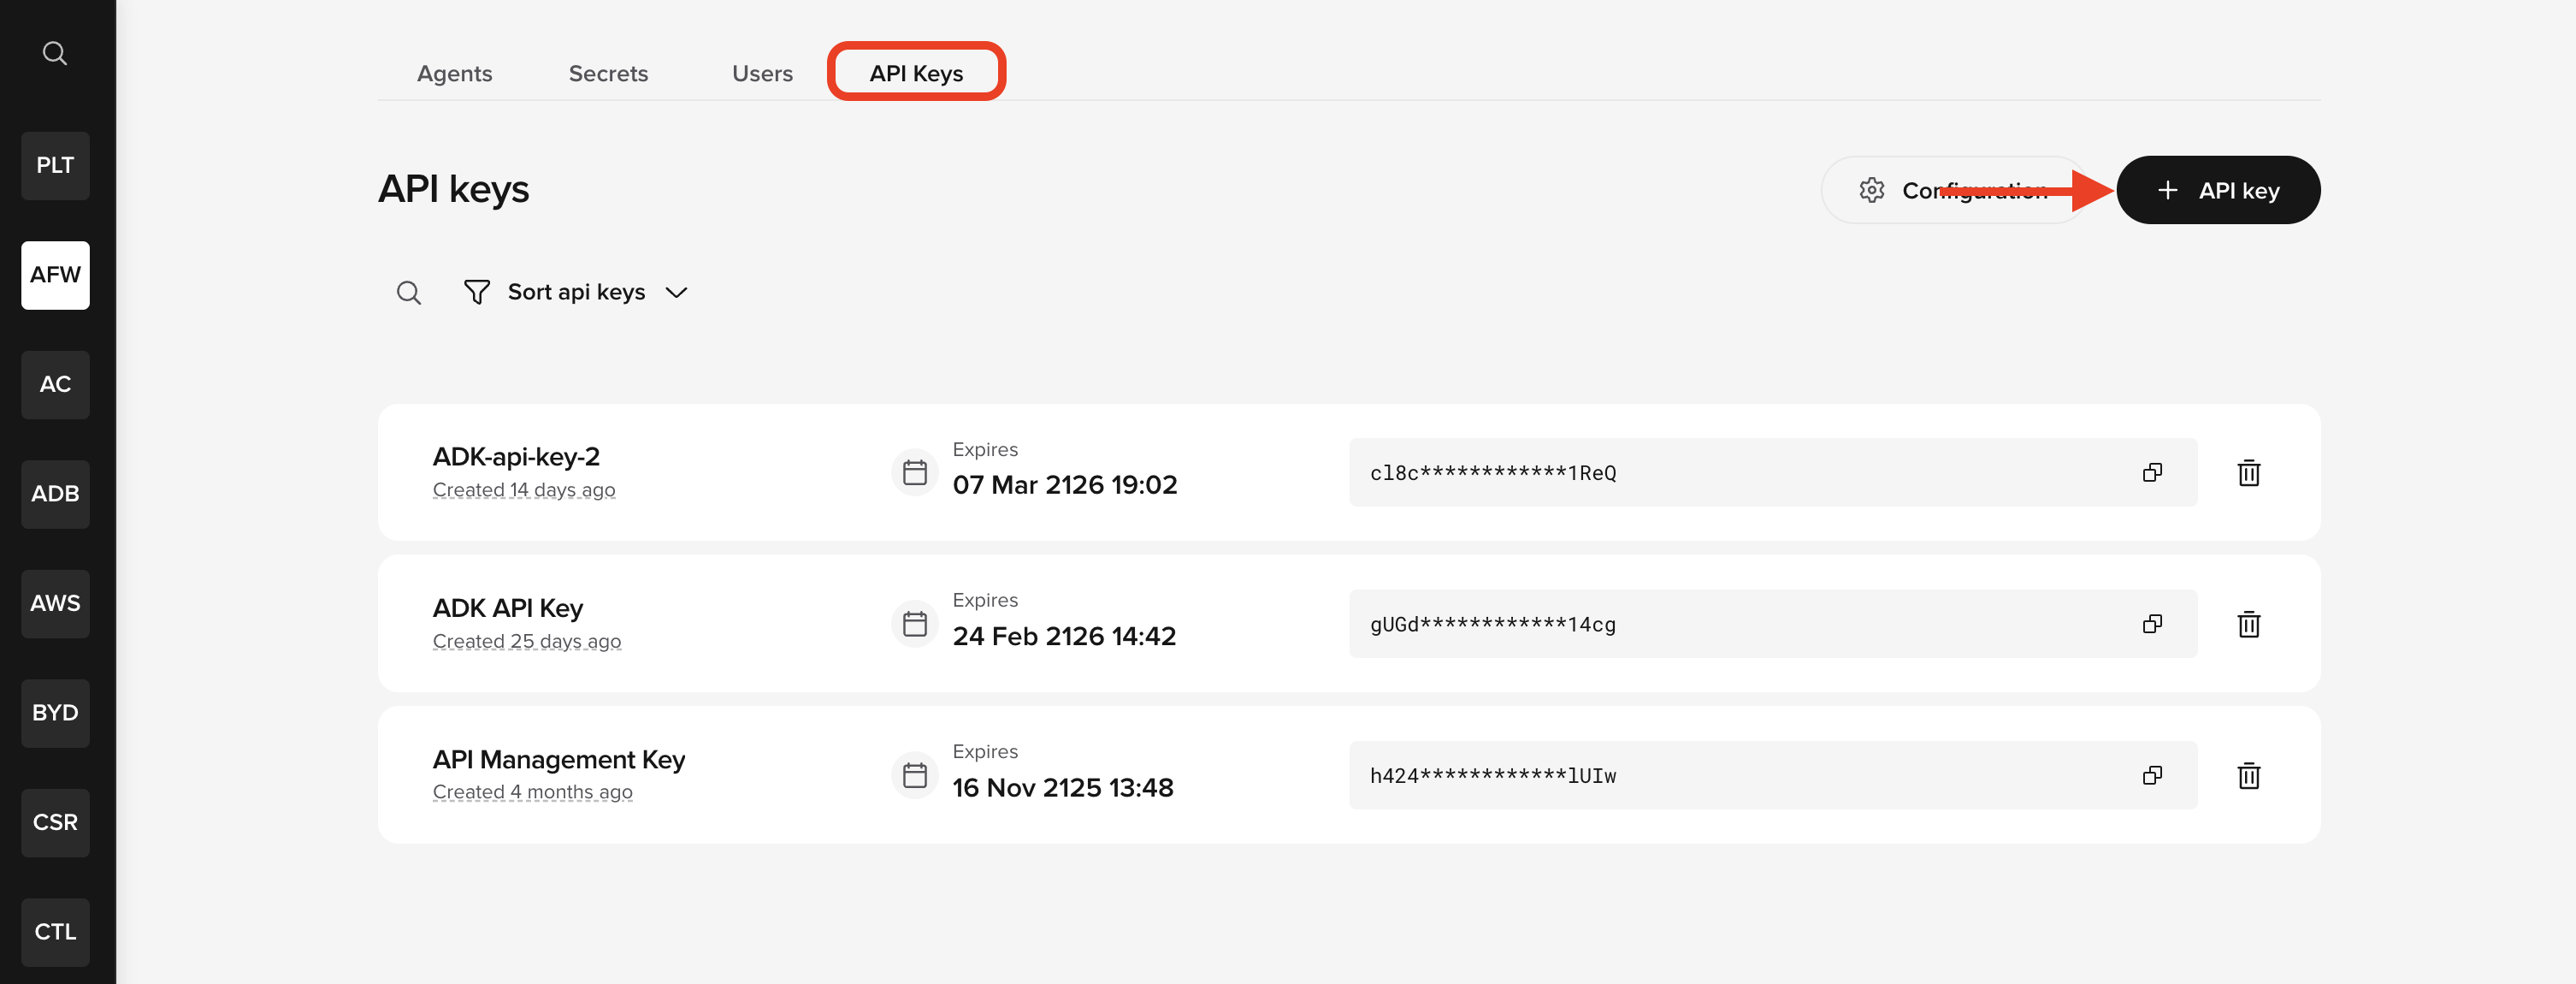
Generate API key
Log in to Agent Studio and open your workspace. In the API Keys tab (next to the Users tab), click + API key in the top right to generate a key.
Then set it as an environment variable:
The POLY_ADK_KEY environment variable must be set before running any poly commands. To make it permanent, add the export line to your shell profile (for example, ~/.zshrc or ~/.bashrc).
Once the ADK is installed and your API key is set, you can use the poly command to interact with Agent Studio projects locally.
Verify the installation
Confirm the CLI is available:
You should see the top-level command help if installation succeeded.
Next step
With the ADK installed and your API key set, run poly init to create your local project and get familiar with the CLI.
-
First commands
Start with
poly init, then learn the rest of the core ADK commands. Open first commands